OS X 上安装 Nginx + PHP-FPM + MariaDB
一些小测试需要用到 Nginx + PHP-FPM + MariaDB,在 App Store 内看了下 OS X Server 要 ¥128,咳咳,要我 10 天的饭钱,Linux 用户迁移过来的,怎么可能花这个钱呢,都是开源的东东,于是操起 Homebrew,自己配置
一. 安装 PHP-FPM
好吧, Homebrew 默认没有 PHP-FPM,我们首先需要使用 brew tap 来添加其他的 repo 到我们的 Homebrew 中去。
$ brew tap homebrew/dupes
$ brew tap homebrew/php
现在我们可以开始安装了
$ brew install --without-apache --with-fpm php54
下面等待几分钟,Homebrew 开始下载 php 源码并开始编译。
如果你用的到 PHP cli,你需要更新下你的环境变量 ~/.bash_profile
if [ -d $(brew --prefix Cellar/php54) ]; then
    export PATH=$(brew --prefix opt/php54)/bin:$PATH
fi
自启动,检查有无目录 ~/Library/LaunchAgents,没有的话新建个目录
$ mkdir -p ~/Library/LaunchAgents
$ ln -sfv /usr/local/opt/php54/homebrew.mxcl.php54.plist ~/Library/LaunchAgents
启动与停止命令
$ launchctl load -w ~/Library/LaunchAgents/homebrew.mxcl.php54.plist
$ launchctl unload -w ~/Library/LaunchAgents/homebrew.mxcl.php54.plist
二. 安装 MariaDB
好吧,又非主流了把,用 MariaDB 取代 MySQL,安装 MariaDB 比较简单
$ brew instal mariadb
自启动
$ ln -sfv /usr/local/opt/mariadb/homebrew.mxcl.mariadb.plist ~/Library/LaunchAgents/
$ launchctl load -w ~/Library/LaunchAgents/homebrew.mxcl.mariadb.plist
$ launchctl unload -w ~/Library/LaunchAgents/homebrew.mxcl.mariadb.plist
三. 安装 Nginx
开始安装 Nginx 了
$ brew install nginx
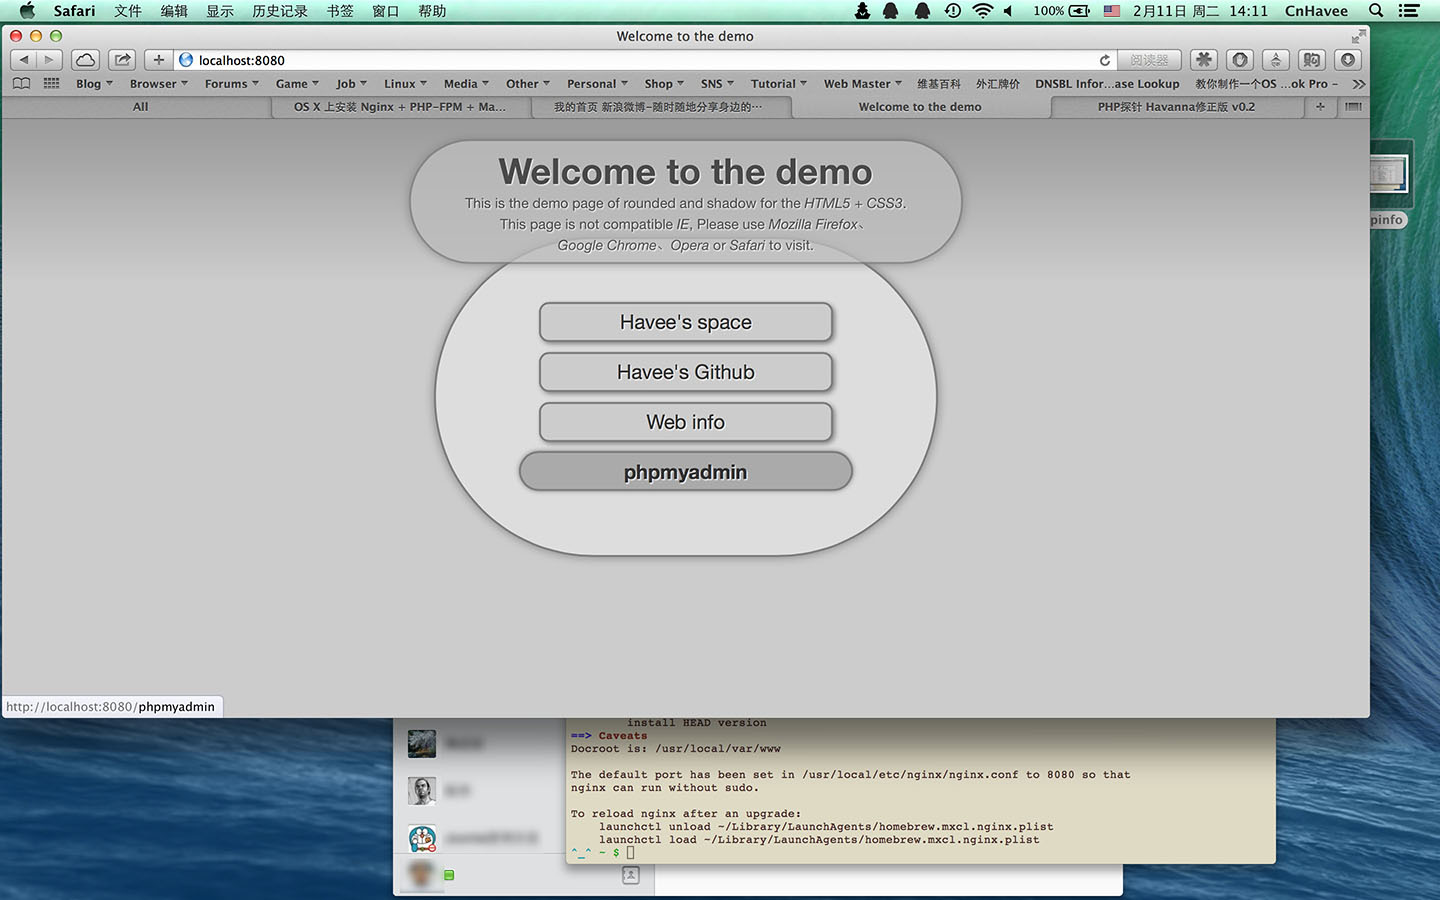
自启动,这里用的是默认的 localhost 8080 端口
$ ln -sfv /usr/local/opt/nginx/homebrew.mxcl.nginx.plist ~/Library/LaunchAgents/
$ launchctl load -w ~/Library/LaunchAgents/homebrew.mxcl.nginx.plist
$ launchctl unload -w ~/Library/LaunchAgents/homebrew.mxcl.nginx.plist
如果对外开 80 端口,请链接到系统目录,且,修改下权限
$ sudo ln -sfv /usr/local/opt/nginx/homebrew.mxcl.nginx.plist /Library/LaunchAgents/
$ sudo chown root:wheel /usr/local/opt/nginx/homebrew.mxcl.nginx.plist
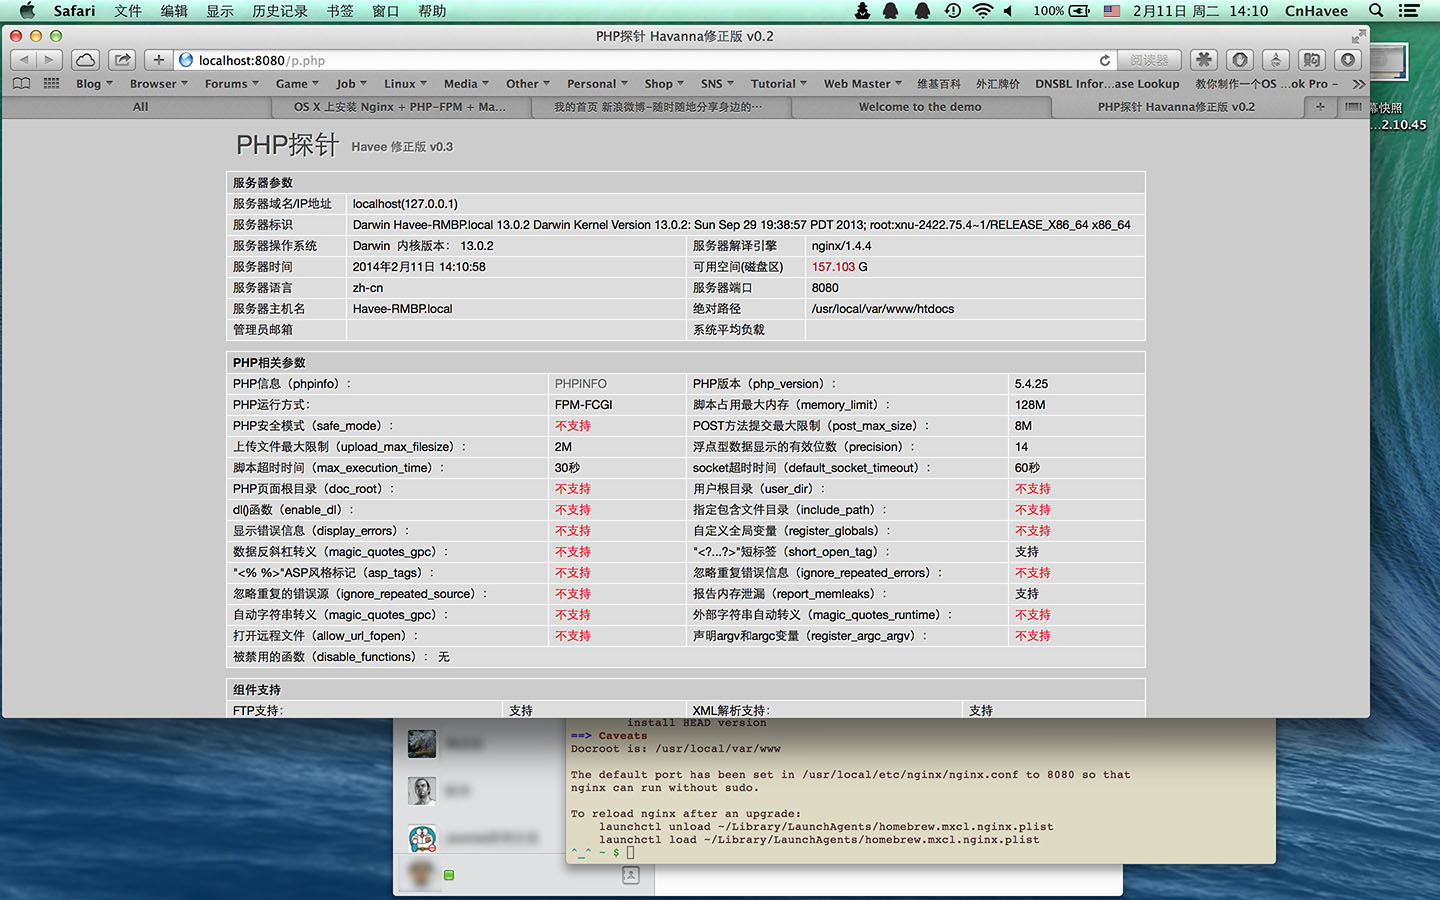
测试下
$ curl -IL http://localhost:8080
HTTP/1.1 200 OK
Server: nginx/1.4.4
Date: Mon, 06 Jan 2014 07:50:26 GMT
Content-Type: text/html
Content-Length: 612
Last-Modified: Mon, 06 Jan 2014 07:45:10 GMT
Connection: keep-alive
ETag: "52ca5f06-264"
Accept-Ranges: bytes
四. 配置
1. Nginx 配置
$ mkdir /usr/local/etc/nignx/conf.d
$ touch /usr/local/etc/nignx/conf.d/localhost.conf
编辑 /usr/local/etc/nginx/nginx.conf
user yourname admin
worker_processes  1;

error_log   /usr/local/var/log/nginx/error.log debug;
#error_log   logs/error.log notice;
#error_log   logs/error.log info;

events {
    worker_connections 128;
}

http {
    include mime.types;
    default_type application/octet-stream;

    log_format main
        '$remote_addr - $remote_user [$time_local] '
        '"$request" $status $bytes_sent '
        '"$http_referer" "$http_user_agent" '
        '"$gzip_ratio"';

    access_log  /usr/local/var/log/nginx/access.log  main;

    client_header_timeout 10m;
    client_body_timeout 10m;
    client_max_body_size 10m;
    send_timeout 10m;

    client_body_in_file_only clean;
    #client_body_temp_path /dev/shm 1 2;
    fastcgi_param REQUEST_BODY_FILE $request_body_file;

    connection_pool_size 256;
    client_header_buffer_size 1k;
    large_client_header_buffers 4 2k;
    request_pool_size 4k;

    gzip  on;
    gzip_min_length  1024;
    gzip_buffers     4 8k;
    gzip_http_version 1.1;
    gzip_comp_level 5;
    gzip_proxied any;
    gzip_types       text/html text/plain application/x-javascript text/css application/xml;
    gzip_vary on;
    gzip_disable     "MSIE [1-6]\.";

    output_buffers 1 32k;
    postpone_output 1460;

    sendfile on;
    tcp_nopush on;
    tcp_nodelay on;

    keepalive_timeout 75 20;

    ignore_invalid_headers on;

    index index.html;

    include conf.d/*.conf;
}
编辑 /usr/local/etc/nignx/conf.d/localhost.conf
server {
    listen          8080;
    server_name     localhost;
    root            html;
    charset         UTF-8;

    access_log      /usr/local/var/log/nginx/localhost.access.log;
    error_log       /usr/local/var/log/nginx/localhost.error.log;

    location ~ \.php$ {
        fastcgi_pass    unix:/usr/local/var/run/php-fpm.sock;
        fastcgi_index   index.php;
        fastcgi_param   SCRIPT_FILENAME $document_root$fastcgi_script_name;
        include         fastcgi_params;
    }

    location ~ /\.ht {
        deny    all;
    }

    location ~ .*\.(gif|jpg|jpeg|png|bmp|swf|ico)$ {
        expires     30d;
        access_log  off;
    }

    location ~ .*\.(js|css|html|htm)$ {
        expires     12h;
        access_log  off;
    }
}
2. PHP-FPM 配置
编辑 /usr/local/etc/php/5.4/php-fpm.conf
;listen = 127.0.0.1:9000
listen = /usr/local/var/run/php-fpm.sock

user = yourname
group = admin
编辑 /usr/local/etc/php/5.4/php.ini
date.timezone = Asia/Shanghai
3. MariaDB 配置
第一次运行设置 root 密码
$ sudo mysql_secure_installation
/usr/local/bin/mysql_secure_installation: line 379: find_mysql_client: command not found

NOTE: RUNNING ALL PARTS OF THIS SCRIPT IS RECOMMENDED FOR ALL MariaDB
      SERVERS IN PRODUCTION USE!  PLEASE READ EACH STEP CAREFULLY!

In order to log into MariaDB to secure it, we'll need the current
password for the root user.  If you've just installed MariaDB, and
you haven't set the root password yet, the password will be blank,
so you should just press enter here.

Enter current password for root (enter for none):
OK, successfully used password, moving on...

Setting the root password ensures that nobody can log into the MariaDB
root user without the proper authorisation.

Set root password? [Y/n] y
New password:
Re-enter new password:
Password updated successfully!
Reloading privilege tables..
 ... Success!


By default, a MariaDB installation has an anonymous user, allowing anyone
to log into MariaDB without having to have a user account created for
them.  This is intended only for testing, and to make the installation
go a bit smoother.  You should remove them before moving into a
production environment.

Remove anonymous users? [Y/n] y
 ... Success!

Normally, root should only be allowed to connect from 'localhost'.  This
ensures that someone cannot guess at the root password from the network.

Disallow root login remotely? [Y/n] y
 ... Success!

By default, MariaDB comes with a database named 'test' that anyone can
access.  This is also intended only for testing, and should be removed
before moving into a production environment.

Remove test database and access to it? [Y/n] y
 - Dropping test database...
 ... Success!
 - Removing privileges on test database...
 ... Success!

Reloading the privilege tables will ensure that all changes made so far
will take effect immediately.

Reload privilege tables now? [Y/n] y
 ... Success!

Cleaning up...

All done!  If you've completed all of the above steps, your MariaDB
installation should now be secure.

Thanks for using MariaDB!
3. aliases
为了后面管理方便,将命令 alias 下,vim ~/.bash_aliases
alias nginx.start='launchctl load -w ~/Library/LaunchAgents/homebrew.mxcl.nginx.plist'
alias nginx.stop='launchctl unload -w ~/Library/LaunchAgents/homebrew.mxcl.nginx.plist'
alias nginx.restart='nginx.stop && nginx.start'
alias php-fpm.start="launchctl load -w ~/Library/LaunchAgents/homebrew.mxcl.php54.plist"
alias php-fpm.stop="launchctl unload -w ~/Library/LaunchAgents/homebrew.mxcl.php54.plist"
alias php-fpm.restart='php-fpm.stop && php-fpm.start'
alias mysql.start="launchctl load -w ~/Library/LaunchAgents/homebrew.mxcl.mariadb.plist"
alias mysql.stop="launchctl unload -w ~/Library/LaunchAgents/homebrew.mxcl.mariadb.plist"
alias mysql.restart='mysql.stop && mysql.start'
接着编辑 ~/.bash_profile 文件,添加
[[ -f ~/.bash_aliases ]] && . ~/.bash_aliases
最后打开终端,更新下
$ source .bash_profile
然后启动方法
$ nginx.start
$ php-fpm.start
$ mysql.start
关闭方法
$ nginx.stop
$ php-fpm.stop
$ mysql.stop
重启方法
$ nginx.restart
$ php-fpm.restart
$ mysql.restart
搞定,收工!
五. 其他
1. apache + mod_fastcgi
$ brew tap homebrew/apache
$ brew install httpd24
$ brew install mod_fastcgi --with-brewed-httpd24
编辑 /usr/local/etc/apache2/2.4/httpd.conf
按提示添加
LoadModule fastcgi_module /usr/local/opt/mod_fastcgi/libexec/mod_fastcgi.so
再在 httpd.conf 适当地方加入
<IfModule fastcgi_module>
ProxyPassMatch ^/(.*\.php(/.*)?)$ unix:/usr/local/var/run/php-fpm.sock|fcgi://127.0.0.1:9000/usr/local/var/www/htdocs
</IfModule>
当然一些路径配置成自己的,譬如 php-fpm 的 sock 路径,譬如 www 路径,随后启动 apache 与 php-fpm
$ curl -I localhost:8080
HTTP/1.1 200 OK
Date: Tue, 14 Oct 2014 01:30:21 GMT
Server: Apache/2.4.10 (Unix) mod_fastcgi/2.4.6
Last-Modified: Fri, 10 Jan 2014 16:40:21 GMT
ETag: "387-4efa061c5c740"
Accept-Ranges: bytes
Content-Length: 903
Content-Type: text/html
apache 服务端以 mod_fastcgi 运行了。
参考: http://blog.frd.mn/install-nginx-php-fpm-mysql-and-phpmyadmin-on-os-x-mavericks-using-homebrew/
Update: change josegonzalez/homebrew-php to homebrew/php, 2014.04.12